If you’re reading this article, it’s probably your first experience with Java — and perhaps with programming in general. In this article, we’ll go over how to install the Java SDK, choose an IDE, and write a simple program to make sure everything is working correctly.
After discussing why Java can be a great choice for both beginners and experienced developers, let’s now see how to install the Java SDK and choose the most suitable IDE.
Installing Java
First of all, unless you have specific requirements, the best thing to do is visit this link and, in the “Java Release Support Timeline” section, identify the latest LTS (Long Term Support) version.
Once you’ve found the version to download, go to this link to get the desired SDK (we’ll soon see how IntelliJ can also handle this step for you).
Once installed, you can verify that Java has been correctly installed by opening a terminal or command prompt and typing:
java --versionIf the terminal responds by showing the Java version, the installation is complete.
If instead the terminal doesn’t recognize the command, you’ll need to add the SDK to your system’s environment variables. I recommend following a guide specific to your operating system.
Which IDE Should You Use?
Now that Java is installed, the next question is: which tool should you use to write and run your code?
What Is an IDE?
An IDE (Integrated Development Environment) is an application that provides helpful tools for software development. Two key features are the debugger and IntelliSense:
- IntelliSense: This auto-completion feature reduces typing time and minimizes syntax errors.
- Debugger: Helpful for analyzing your code, it assists in identifying and fixing bugs.
IntelliJ
There are several IDEs that support Java. Many are free, and others offer a free basic version.
We’ll use IntelliJ, in its free Community Edition. Once downloaded, start the installation and, when prompted, I recommend selecting all available options.
After installation, we’re ready to write our first Java program.
Hello World
There’s nothing more classic for a developer than starting with a “Hello World” program.
Open IntelliJ and accept the terms of use on first launch. If you already have other IDEs installed, IntelliJ may ask if you want to import their settings.
Click “New Project”, give your project a name (e.g., helloWorld), choose a destination folder, and leave the default settings. Then click “Create”.
IntelliJ is a fairly complete IDE, so it will likely generate everything needed for your “Hello World” automatically.
If it doesn’t, or if you chose a different IDE, here’s the code you’ll need to write:
public class Main {
public static void main(String[] args) {
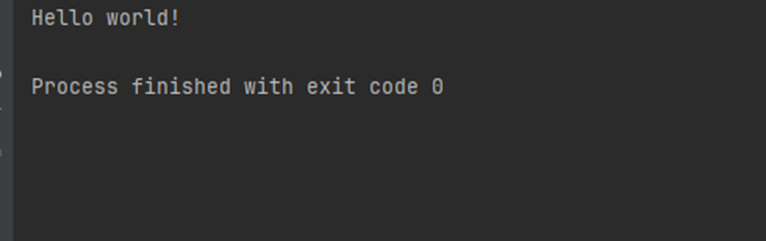
System.out.println("Hello world!");
}
}