If you’re reading this article, it’s probably your first experience with Python and, in general, with programming. In this article, we’ll go over how to install Python, choose an IDE, and write a simple program to make sure everything is working correctly.
After discussing why Python can be a great choice for both beginners and experienced programmers, let’s now look at how to set up Python and choose the right IDE.
Installing Python
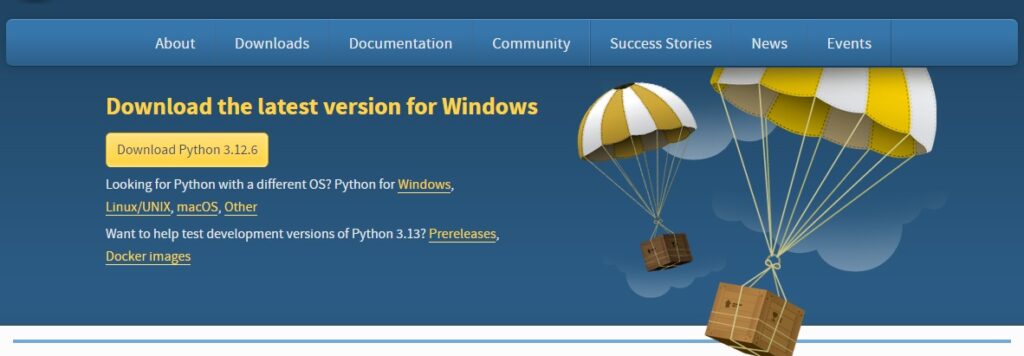
Installing Python is very easy. Go to the official website and download the latest version, which you’ll find highlighted at the top in the Downloads section. The system will automatically select the version compatible with your operating system.
At this point, proceed with the installation (on Windows) by double-clicking on the downloaded file. To verify that Python has been installed correctly, open the command prompt and type the following command:
python --versionIf the terminal shows the version of Python you’ve just installed, you’re done. However, if the terminal doesn’t recognize the command, you’ll need to manually add Python to the environment variables. I suggest following this guide for that.
Which IDE to use?
Now that we’ve installed Python, the next question is: which tool should we use to write and run the code?
You don’t need any specific tool (in the worst-case scenario, you could even use the basic “Notepad” on Windows or any other text editor), but to write code in a more professional way, we need a proper IDE.
What is an IDE?
IDE stands for Integrated Development Environment, which is an application that provides various tools useful for software development.
The two tools we are most interested in are the debugger and IntelliSense.
- Debugger: The debugger is a tool for analyzing code, essential for finding and fixing bugs, which are programming errors that prevent our code from functioning correctly.
- IntelliSense: is a feature integrated into most IDEs and for the majority of programming languages. Its function is to provide auto-completion for instructions, saving time and preventing simple typing errors.
PyCharm
There are several IDEs that support Python, many of which are completely free, while others offer a basic set of features for free.
The one we’ll use in the following articles is PyCharm in its free version. Once downloaded, double-click the file, and a typical Windows installation wizard will appear. At one point, you’ll be asked to select some options; in my opinion, it’s best to select all of them.
Once PyCharm is installed, we’re ready to write our first Python program.
Hello World
As every experienced developer knows, there’s nothing more classic than writing a “Hello World” as your first program. So why break tradition?
First, open the IDE and accept the terms presented to you upon first launch. If you have other IDEs installed, PyCharm may ask if you want to import their configurations. Feel free to do so, but the important thing is to reach the next step.
Now click on “New Project”, give your project a name, for example, “helloWorld”, choose a location to save it, and, leaving the rest unchanged, click on “Create”.
After a brief process, the IDE will present you with a new window where you can manage your project.
Let’s immediately create our first file where we’ll write the code, and name it “main”. Then, write the following:
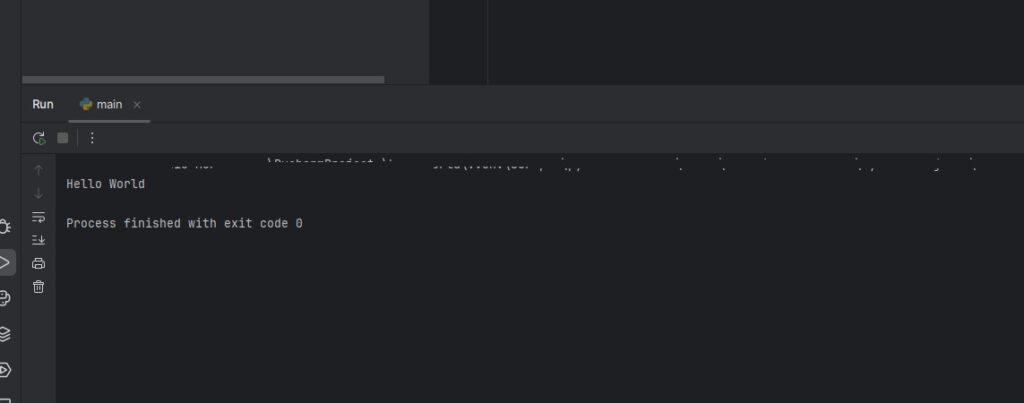
print("Hello World")Now, by clicking on the “Play” button at the top, you’ll see the text appear in the console.